After harvesting your vegetables, it’s essential to tidy up the area. This post-harvest cleanup not only concludes the current cultivation cycle but also sets the stage for the next planting. Application of Activated EM1 should be useful. Here’s a step-by-step guide:
1. Handling Fruit Vegetables (e.g., cucumber, tomato, eggplant, green pepper, watermelon, pumpkin)
- Begin by separating the above-ground parts from the underground sections using tools like a sickle.
- Sun-dry the above-ground parts for at least a day. These dried parts can be repurposed as compost material.
- Vegetables like cucumbers, watermelons, and pumpkins decompose rapidly due to their softer vines and stems.
- In contrast, tomatoes, eggplants, and peppers have harder stems and take longer to break down. For these, it’s advisable to chop the branches into smaller pieces for easier decomposition.
- Once you’ve processed the plants, remove any supporting nets or posts and store them in a designated area.
Preparing for the Next Planting:
- Retain the roots in the soil. Before the next planting, drench the area with a 100-fold diluted activated EM solution.
- Top the soil with mulch. This helps retain moisture, ensures a conducive environment for EM to function, and invites beneficial soil organisms, further enhancing soil quality.
2. Handling Leafy Vegetables (e.g., lettuce, spinach, cabbage, Chinese cabbage):
The post-harvest process varies for different leafy vegetables:
For Lettuce and Spinach:
- After harvesting, clear away any remaining plant material from the top of the bed.
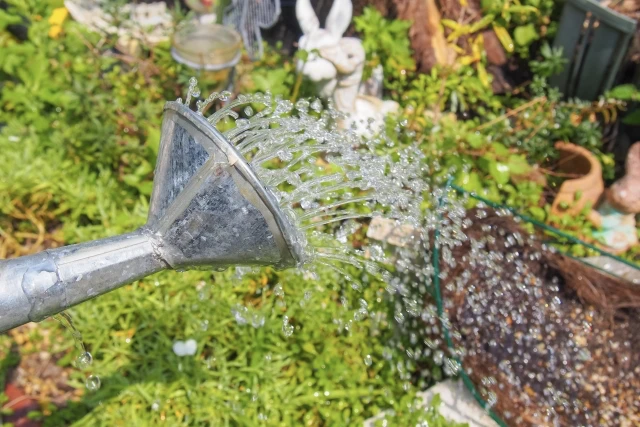
- Apply a generous amount of a 100-fold diluted EM solution to the area.
- Finish by laying grass or mulch on top to protect the soil.
For Cabbage and Broccoli:
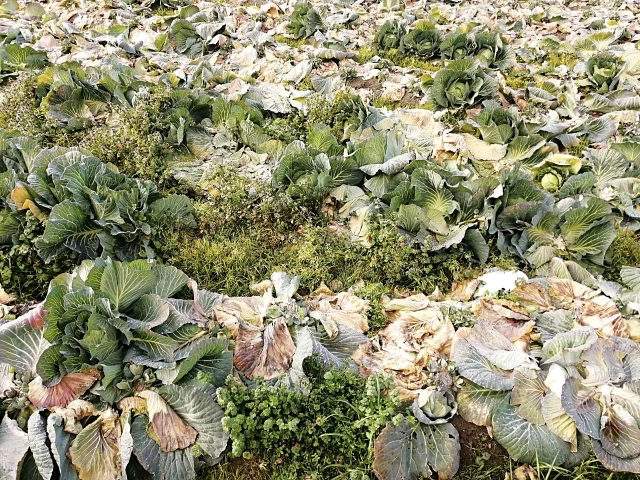
- These vegetables tend to leave behind a significant amount of residue. It’s best to clear this away to prepare for the next planting.
- Extract the roots and shake off as much soil as possible. These roots can be added to your compost pile.
- Residues like outer leaves decompose quickly and are categorized as fast-decomposing materials. In contrast, tap roots break down more slowly. The decomposition rate increases if the tap roots are smaller in size.
- Once you’ve cleared away all debris and roots, level the bed.
- Apply a generous amount of a 100-fold diluted EM solution.
- Top it off with grass or mulch to maintain soil health
3. Handling Root Vegetables (e.g., carrots, radishes, potatoes, taro):
Root vegetables can be broadly categorized into two groups: those like carrots and radishes, and those like potatoes and taro. While the post-harvest treatment for both groups is largely similar, there are some differences based on the amount of residue left behind and the depth to which the beds are disturbed.
Post-Harvest Process:
- Clear away any above-ground harvest residue.
- Level the planting beds to prepare for the next crop.
- Apply a generous amount of a 100-fold diluted activated EM solution to the soil.
- Finish by laying grass or mulch on top to protect and nourish the soil.
Composting Tips:
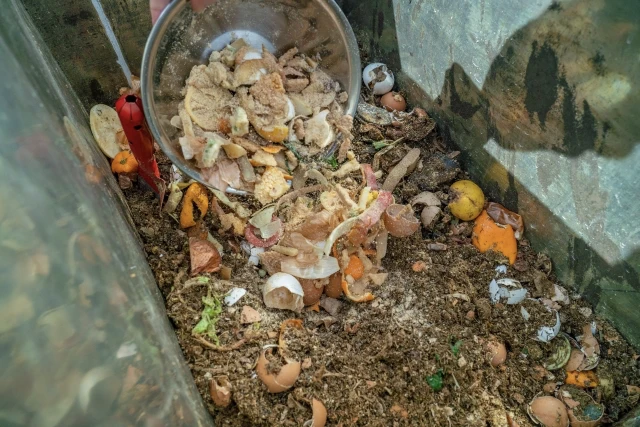
- If you’re composting residues from root vegetables, consider them as materials that decompose quickly.
- For larger leaves, such as those from taro plants, it’s beneficial to chop them into smaller pieces before adding them to the compost pile.


